Working with natural stone around pools can elevate the overall aesthetic and functionality of your outdoor space. However, the installation process requires careful planning and execution to ensure durability and safety. In this blog, we will explore the best practices and handy tips for installing natural stone around pools, transforming your backyard oasis into a stunning haven.
Choosing the Right Type of Natural Stone
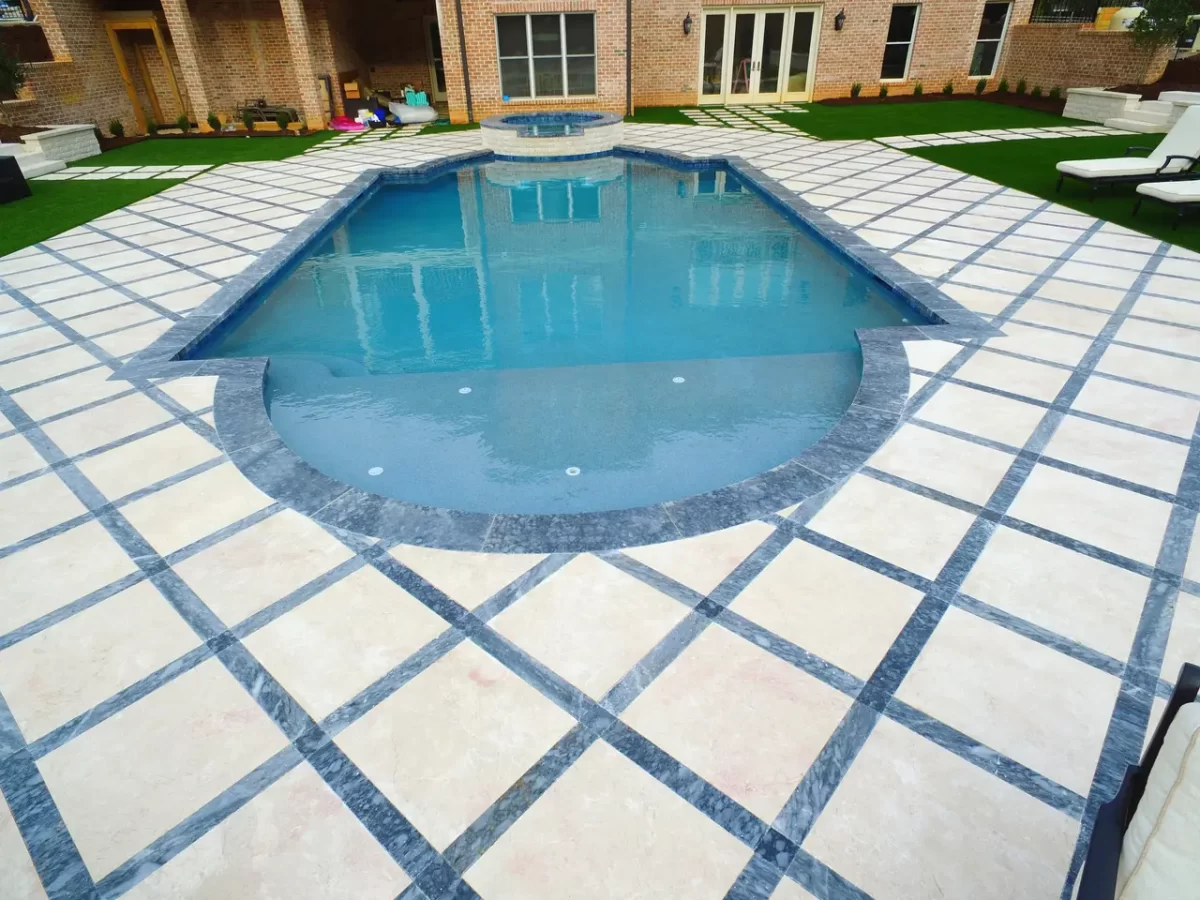
The first step in working with natural stone around pools is selecting the right type that complements your style and meets safety requirements. Popular options like travertine, granite, and limestone each bring their own set of advantages. Travertine, for instance, is prized for its natural non-slip surface, making it perfect for wet environments. Meanwhile, granite’s robust durability withstands the rough wear and tear often associated with poolside areas. Limestone, with its light color and cool-hued tones, can help mitigate heat absorption during hot summer days, providing both comfort and visual appeal.
When choosing natural stone for your pool area, consider the local climate and how different stones react to temperature changes. If you’re in an area prone to freezing temperatures, some stones may not be as suitable due to their porous nature and potential for cracking. Additionally, think about the texture and finish of the stone. Rough or honed finishes can prevent slipping and are typically more recommended for pool surroundings.
Preparing the Site for Installation
Proper site preparation is crucial for successful natural stone installation. Start by thoroughly assessing the pool area, considering both its current state and the desired finish. The ground must be even, compact, and devoid of debris to provide a level base for installation. One commonly overlooked aspect is ensuring effective drainage. Poor drainage can lead to water pooling and stone damage, which is why contouring the substrate to direct water away from the stone is essential.
A solid foundation often requires a stable sub-base, such as crushed stone or gravel, which provides a firm and permeable layer beneath the stone. This base helps stabilize the stone and accommodates any natural settling or minor shifts that might occur over time. In addition, proper edging and border installation can prevent the stones from moving, maintaining the integrity of your design long-term.
Essential Tools and Materials
Having the right tools and materials on hand can make the installation process smoother and more efficient. Essential tools include stone cutters or saws for customizing stone shapes, heavy-duty adhesive for securing the stone, and a variety of sealants to protect the stone surfaces from chlorine and other pool chemicals. For adhering natural stone, epoxy-based adhesives are recommended due to their strength and resilience under pool area conditions.
To ensure the longevity and appearance of the stones, selecting the appropriate sealant is key. Sealants help preserve the natural beauty while protecting against moisture penetration and stains. There are numerous types of sealants available, ranging from impregnating sealers that offer a natural look to topical sealers that provide a glossy finish. It’s crucial to choose a sealant suitable for the specific type of stone and the environmental conditions it will face.
Installation Techniques for Seamless Results
Achieving a seamless and professional look requires specific installation techniques. One approach is to lay stones with minimal joint spacing, which provides a cohesive appearance and reduces the potential for weeds or algae growth between the stones. Employing a staggered pattern can also enhance stability and visual interest. Curves and edges can be particularly challenging, but using smaller, custom-cut stones can accommodate these features gracefully.
To enhance durability and aesthetics, consider incorporating edge treatments such as bullnosed edges or chamfered edges, which can provide a polished finish while reducing the risk of chipping over time. Pay attention to grout lines, ensuring they are filled proportionally and sealed effectively to prevent water infiltration. Consistency in the height and level of the stones is crucial; use a level during installation to maintain an even surface.
Maintenance Tips for Longevity
Regular maintenance is key to preserving the beauty and functionality of natural stone around your pool. Start by establishing a consistent cleaning routine to remove dirt, debris, and potential stains. Use products specifically formulated for natural stone and avoid harsh chemicals that could damage the surface. A soft brush or mop can be used for regular cleaning, while a pressure washer might be necessary for deeper cleans, ideally handled by professionals.
Resealing the stone periodically can extend its lifespan and maintain its aesthetic appeal. Depending on the type of stone and sealant used, resealing should typically be done every one to three years. Also, proactively address potential issues like discoloration or algae by keeping the surface dry and clean, as prolonged moisture can contribute to these problems. For particularly stubborn moss or algae, specialized stone-safe treatments can be employed.
Creating a Lasting and Beautiful Poolside with Natural Stone
By following these best practices and installation hacks, you can ensure that your natural stone pool area is not only beautiful but also safe and durable. Paying attention to materials, preparation, and maintenance will result in a long-lasting and stunning space that you, your family, and guests will enjoy for years to come. To explore the best options and materials available for your project, visit our homepage and let us help you create your perfect outdoor space.